
Rodents, Reptiles & Bats
How to Stop Mice From Entering Through Vents: A Complete Guide
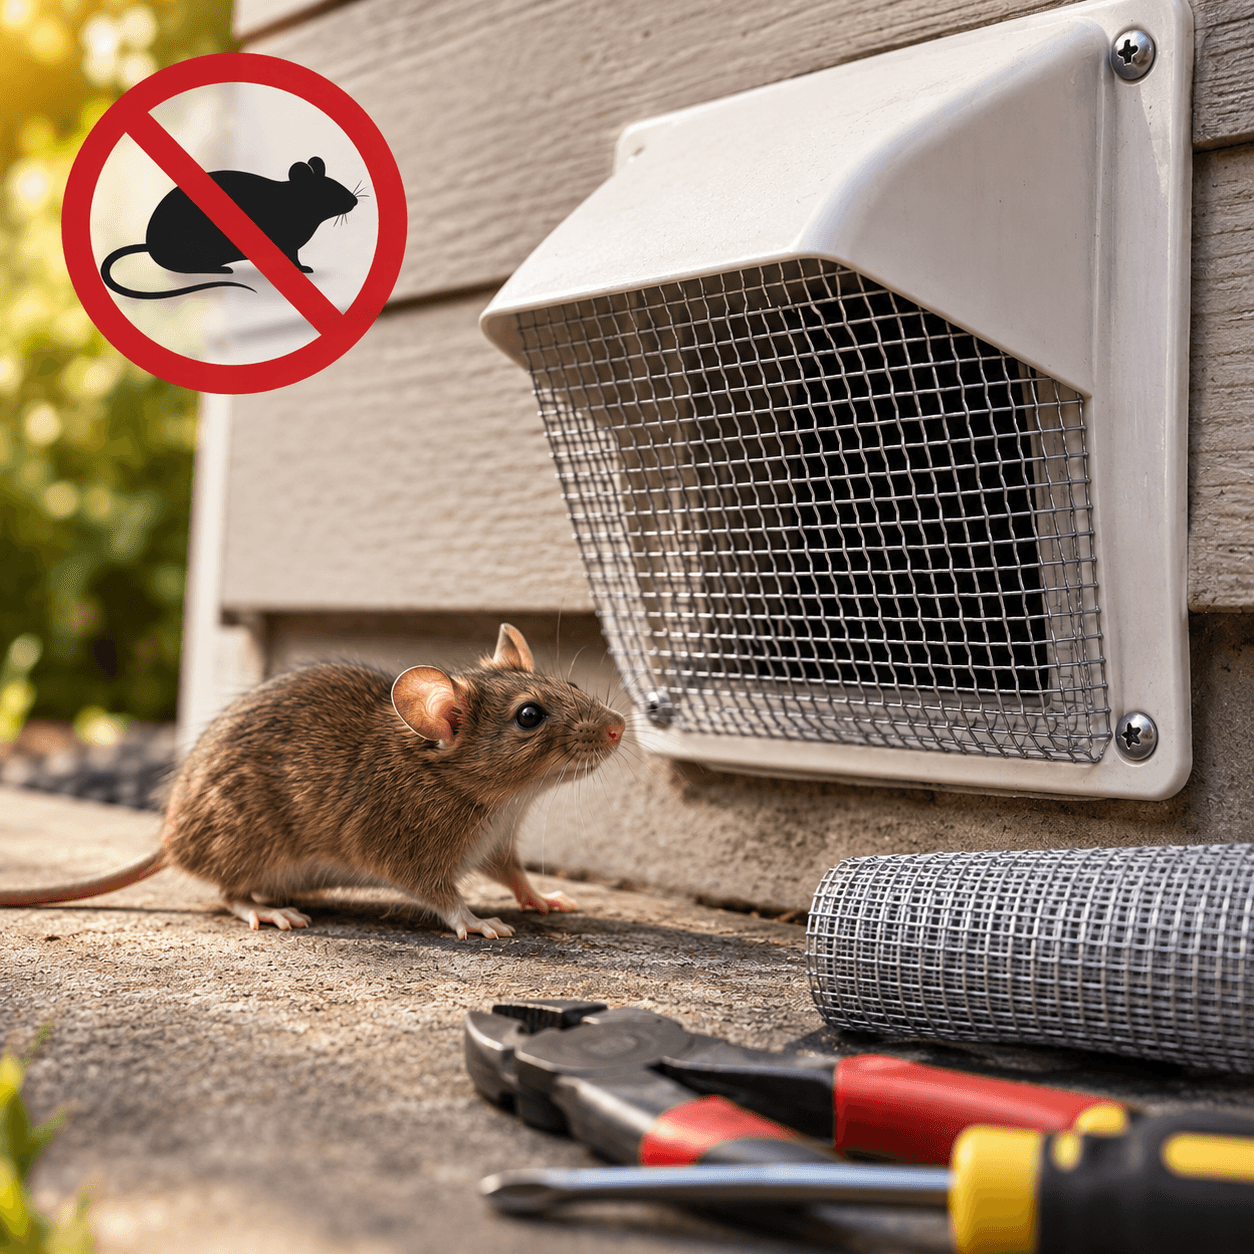
Mouse-proofing a vent should never mean simply blocking it.
You’ve sealed the gaps around your doors, checked the garage, cleaned up food sources, and even inspected the foundation.
Yet somehow, mice keep appearing.
You hear scratching near a wall at night. You find droppings in a utility room. Maybe you’ve even caught a mouse—only for the signs to return a few weeks later.
So where are they getting in?
One possibility homeowners often overlook is the home’s vents.
Dryer vents, foundation vents, attic vents, exhaust openings, and other ventilation points connect your home’s interior with the outside. If these openings are damaged or poorly protected, mice may take advantage of them.
But simply covering every vent isn’t the answer. Improperly blocking ventilation can create other problems.
In this guide, we’ll explain which vents mice may use, how to identify possible entry points, how to protect vents without interfering with their function, and what else you should do to keep mice out.
🐭 Introduction: Can Mice Really Enter Through Vents?
Yes, certain vents and openings associated with ventilation systems can provide mice with potential access to a house.
Mice are excellent climbers and can take advantage of surprisingly small gaps.
The problem isn’t always the vent opening itself.
Sometimes mice enter through:
- Damaged vent covers
- Missing screens
- Gaps around vent housings
- Openings around ducts
- Cracks where ventilation systems penetrate exterior walls
Once inside, these areas may connect mice to:
- Wall cavities
- Attics
- Crawl spaces
- Utility rooms
From there, they can potentially move into other areas of the home.
🏠 Which Types of Vents Can Mice Use?
Not every vent presents the same level of risk.
However, several areas deserve inspection.
Dryer Vents
Exterior dryer vent covers may become:
- Damaged
- Loose
- Stuck open
- Improperly installed
This can potentially create access around or through the vent assembly.
Foundation and Crawl Space Vents
These vents are relatively close to ground level, making them particularly important to inspect.
Look for:
- Broken screens
- Corrosion
- Missing sections
- Gaps around the frame
Attic and Roof Vents
Mice can climb exterior surfaces, nearby vegetation, pipes, and other structures.
Damaged attic ventilation areas may provide access to sheltered roof spaces.
Exhaust Vents
Kitchen and bathroom exhaust systems can also have exterior openings.
Proper covers and installation are important.
HVAC-Related Openings
Rather than assuming mice are traveling directly through an HVAC system, inspect the areas where:
- Pipes
- Cables
- Ductwork
- Equipment
pass through walls.
The surrounding gaps may be the actual entry points.
🔍 Signs Mice May Be Entering Through a Vent
You usually won’t see a mouse crawling through a vent.
Instead, look for indirect evidence.
Possible signs include:
- Droppings near the vent
- Scratching sounds nearby
- Damaged vent screens
- Gnaw marks
- Nesting material
- Greasy marks around openings
You may also notice that mouse activity repeatedly appears in the same area of the house.
That can help narrow down the likely access route.
🔦 Step 1: Inspect Exterior Vents
Walk around the exterior of your home and identify every ventilation opening.
Check:
- Dryer exhaust
- Foundation vents
- Crawl space vents
- Attic vents
- Bathroom exhausts
- Kitchen exhausts
Look closely at the edges.
A vent may appear intact from a distance while still having a gap around its frame.
Check for:
- Cracks
- Loose covers
- Missing screws
- Damaged screens
- Gaps between the vent and wall
🛠️ Step 2: Repair Damaged Vent Covers
If a vent cover is:
- Cracked
- Loose
- Broken
- Missing
repair or replace it.
Choose a replacement designed for that particular ventilation application.
This distinction matters.
A dryer exhaust requires a different solution from a passive foundation vent.
The goal is:
Prevent rodent access while allowing the ventilation system to operate safely and correctly.
🧱 Step 3: Use Appropriate Rodent-Resistant Barriers
Some ventilation openings can be protected with suitable metal screening or purpose-designed rodent-resistant vent covers.
Metal materials are generally more resistant to chewing than:
- Plastic mesh
- Foam
- Fabric screening
However, mesh size and airflow requirements matter.
A barrier that is too restrictive may interfere with ventilation.
Always make sure any modification is appropriate for the specific type of vent.
🔎 Step 4: Check Around the Vent, Not Just Inside It
This is an easy detail to miss.
You install a strong vent cover.
But mice keep appearing.
Why?
Because they may not be entering through the actual vent.
They may be using the gap surrounding it.
Check where the vent housing meets:
- Siding
- Brick
- Concrete
- Exterior wall materials
Also inspect nearby:
- Utility pipes
- Electrical lines
- Cable penetrations
Seal suitable gaps with durable materials appropriate for the structure.
⚠️ Special Considerations for Dryer Vents
Dryer vents deserve extra attention because restricting exhaust airflow can create safety and performance problems.
Avoid simply stuffing a dryer vent with:
- Steel wool
- Mesh
- Foam
- Other improvised materials
that could obstruct airflow or collect lint.
Instead, use an exterior dryer vent cover specifically designed to maintain proper exhaust while reducing pest access.
Also make sure the flap or damper:
- Opens properly while the dryer operates
- Closes when the dryer is off
- Is not clogged with lint
If you’re uncertain about a dryer vent modification, professional installation is the safer choice.
🪤 What to Do If Mice Are Already Inside
Mouse-proofing vents prevents future entry.
It doesn’t automatically remove mice already living inside the house.
If you have confirmed activity, you’ll need to address both problems.
Identify Active Areas
Look for:
- Droppings
- Gnawing
- Nesting materials
- Scratching sounds
Use Appropriate Mouse Control
Depending on the situation, homeowners may use:
- Snap traps
- Electronic mouse traps
- Other appropriate rodent-control methods
Place control devices along known travel routes rather than randomly around the house.
Remove Food Sources
Store:
- Pantry food
- Pet food
- Bird seed
in secure containers.
Clean crumbs and spills regularly.
Continue Monitoring
After activity appears to stop, continue checking for fresh evidence.
This helps determine whether the infestation has actually been controlled.
❌ Common Vent Mouse-Proofing Mistakes
Mistake #1: Blocking the Vent Completely
Ventilation systems exist for a reason.
Never sacrifice safe airflow simply to prevent rodents.
Mistake #2: Using Weak Plastic Screening
Some materials can be damaged or chewed.
Use appropriate durable materials for the application.
Mistake #3: Inspecting Only Ground-Level Vents
Mice are capable climbers.
Don’t forget attic and elevated exterior openings.
Mistake #4: Ignoring Gaps Around the Vent
Sometimes the surrounding installation gap is more important than the vent itself.
Mistake #5: Sealing Everything Before Addressing an Active Infestation
If rodents are already inside a structure, exclusion needs to be planned carefully so you don’t create unintended problems.
Mistake #6: Assuming the Vent Is the Only Entry Point
Finding one vulnerability doesn’t mean you’ve found them all.
A complete exterior inspection is still necessary.
🛡️ How to Protect the Rest of Your Home
Vent protection should be part of a larger mouse-proofing strategy.
Inspect other vulnerable areas including:
Garage Doors
Look for damaged bottom and corner seals.
Exterior Doors
Replace worn weather stripping.
Foundation
Repair suitable cracks and openings.
Utility Penetrations
Inspect around pipes, wires, and cables.
Roofline
Check damaged areas around eaves and roof penetrations.
Outdoor Environment
Reduce:
- Dense vegetation against the house
- Outdoor clutter
- Accessible garbage
- Spilled bird seed
The fewer opportunities mice have around your property, the harder it becomes for them to find another route inside.
💡 Conclusion: Protect the Opening Without Blocking the Airflow
If mice keep entering your home despite your prevention efforts, vents and the gaps surrounding them deserve a careful inspection.
Pay particular attention to:
- Dryer vents
- Foundation vents
- Crawl space vents
- Attic vents
- Exhaust openings
- Utility penetrations around ventilation equipment
Repair damaged covers and use appropriate rodent-resistant protection where suitable.
But remember:
Mouse-proofing a vent should never mean simply blocking it.
The goal is to prevent rodent access while preserving the airflow and safety requirements of the ventilation system.
And don’t stop after finding one opening.
For long-term mouse prevention, combine vent protection with:
Entry-point sealing + food control + clutter reduction + active mouse removal + ongoing monitoring.
The harder your home is to enter—and the fewer reasons mice have to stay—the less likely you’ll be dealing with the same problem again.